Rainbow Layered Birthday Cake: An Amazing Ultimate Recipe
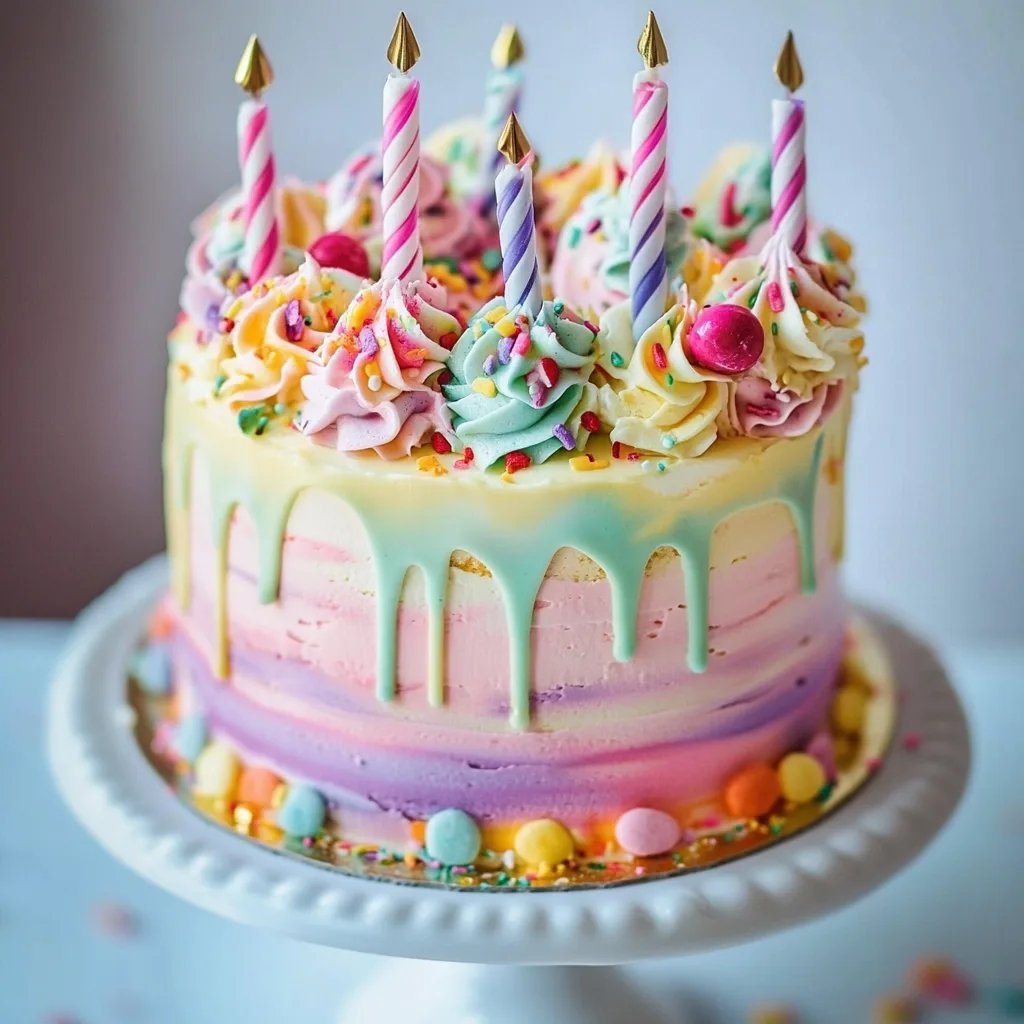
Rainbow Layered Birthday Cake is an incredible way to celebrate any special occasion. Bursting with vibrant colors and delightful flavors, this cake will captivate everyone at your party. Each slice reveals an eye-catching spectrum of hues, making it not just a dessert but a centerpiece that brings joy to your celebration. The moist layers, complemented by creamy frosting, create an unforgettable experience that guarantees smiles all around.
If you've ever dreamed of a birthday cake that steals the show, Rainbow Layered Birthday Cake is your answer. Its stunning visuals are matched only by its delicious taste. Imagine serving a cake that not only looks amazing but also delights your taste buds with its rich, buttery flavor and smooth textures. This dessert will be the talk of the party and is the perfect way to express your creativity. With the right techniques and easy-to-follow instructions, you’ll be well on your way to creating an exceptional cake that impresses everyone.
This guide will walk you through everything you need to know to create your very own Rainbow Layered Birthday Cake. You will discover why this recipe is beloved by many, the preparation and cooking times, the necessary ingredients, step-by-step instructions, and tips on serving. Let's dive into creating a cake that is as joyful as it is delicious!
Why You'll Love This Recipe
Rainbow Layered Birthday Cake brings together a burst of flavors and colors that will delight children and adults alike. Here are some incredible reasons why you’ll absolutely love this recipe:
- Stunning Presentation: The visual appeal is unbeatable, making it a show-stopper for any celebration.
- Versatile Flavor Options: You can play with different cake flavors, such as vanilla, chocolate, or lemon, allowing for endless possibilities.
- Perfect for Any Occasion: Ideal for birthdays, anniversaries, or even festive gatherings, this cake fits right in.
- Fun to Make: Baking and layering the cake provides a creative outlet, making it a fun project for families or friends.
- Frosting Choices: Pair it with various frostings, such as buttercream or cream cheese, to suit different tastes.
- Customize to Perfection: Add sprinkles, edible glitter, or fruits as decorations for that extra flair.
This recipe gives you the opportunity to blend your artistic skills and baking abilities, resulting in a cake that’s not just a dessert but an expression of joy!
Preparation and Cooking Time
To create your Rainbow Layered Birthday Cake, you’ll need an estimated total of 2 hours. Here’s how the time breaks down:
- Preparation Time: 45 minutes
- Cooking Time: 25-30 minutes
- Cooling Time: 30-40 minutes
- Assembling and Decorating: 30 minutes
These times may vary based on your experience, kitchen tools, and the number of layers you choose, but this estimate provides a solid foundation to get started.
Ingredients
- 3 cups all-purpose flour
- 2 ¼ teaspoons baking powder
- ¼ teaspoon salt
- 1 cup unsalted butter, softened
- 2 cups granulated sugar
- 5 large eggs
- 1 tablespoon vanilla extract
- 1 cup whole milk
- Gel food coloring (red, orange, yellow, green, blue, purple)
- Buttercream frosting (for layering and decorating)
- Sprinkles (for garnish, optional)
Step-by-Step Instructions
Creating your Rainbow Layered Birthday Cake can be straightforward with these clear instructions:
- Preheat the Oven: Preheat your oven to 350°F (175°C). Grease and flour three 8-inch round baking pans.
- Mix Dry Ingredients: In a bowl, whisk together the flour, baking powder, and salt.
- Cream Butter and Sugar: In a large mixing bowl, beat the softened butter and sugar until fluffy.
- Add Eggs: Add eggs, one at a time, mixing well after each addition. Then add the vanilla extract.
- Combine Mixtures: Gradually add the dry ingredients to the wet mixture, alternating with the milk until well blended.
- Divide the Batter: Split the batter into six equal portions in separate bowls.
- Add Colors: Color each portion with gel food coloring to achieve the desired hues of the rainbow.
- Pour Batter: Pour each color into the prepared pans and smooth the tops.
- Bake: Bake each layer in the preheated oven for 25-30 minutes or until a toothpick comes out clean.
- Cool Layers: Allow the cakes to cool in their pans for 15 minutes, then transfer to a wire rack to cool completely.
- Prepare the Frosting: While the cake cools, prepare your buttercream frosting, adding any flavors or colors desired.
- Assemble the Cake: Once the layers are cool, place one layer on a cake stand and spread frosting on top. Continue layering the other colors.
- Frost the Outside: Frost the top and sides of the cake with an even layer of buttercream.
- Decorate: Optionally, decorate with sprinkles or edible glitter to complete the cake.
These instructions will help you craft your Rainbow Layered Birthday Cake effortlessly and confidently.
How to Serve
Serving your Rainbow Layered Birthday Cake can enhance the entire experience. Consider these ideas to make it extraordinary:
- Presentation Matters: Use a beautiful cake stand to elevate the look and feel.
- Slice with Care: Ensure each slice shows off the colorful layers, making for stunning visuals.
- Accompany with Drinks: Pair slices with milk, tea, or even a glass of sparkling water for a refreshing experience.
- Add Extra Sweetness: Serve with a side of whipped cream or ice cream for those who love an extra treat.
- Personal Touch: Write a special message on top with frosting for birthdays or special occasions to personalize your cake.
By following these serving tips, you will create an unforgettable experience for everyone enjoying your Rainbow Layered Birthday Cake!
Additional Tips
- Use Room Temperature Ingredients: For the best results, ensure that your butter, eggs, and milk are at room temperature. This helps them mix more thoroughly, giving the cake a nice, even texture.
- Consider a Cake Leveler: A cake leveler tool can help create even layers, making stacking and decorating much easier.
- Experiment with Flavor: Don't hesitate to experiment with different extracts, such as almond or lemon, to add unique flavors to your cake.
Recipe Variation
There are several fun variations to apply to your Rainbow Layered Birthday Cake. Here are a few ideas:
- Theme Colors: Match the colors to a specific theme, such as pastels for a spring celebration or dark shades for a more elegant look.
- Filled Layers: Add layers of fruit jam or custard between the cake layers for added flavor and surprise.
- Different Frostings: Switch up the frosting by using cream cheese or whipped cream instead of traditional buttercream for a lighter taste.
Freezing and Storage
- Storage: Keep your cake in an airtight container at room temperature for up to 3 days. If needed, it can be refrigerated to extend freshness.
- Freezing: You can freeze individual slices of the cake. Wrap each slice tightly in plastic wrap and store them in a freezer-safe bag for up to 2 months. Make sure to thaw in the refrigerator overnight before serving.
Special Equipment
To create the Rainbow Layered Birthday Cake, here are some essential tools you will need:
- Mixing bowls: For combining ingredients efficiently.
- Electric mixer: To beat butter and sugar together easily.
- Spatula: Useful for spreading frosting evenly across the cake layers.
- Cooling racks: Important for allowing the baked layers to cool properly before frosting.
- Piping bags and tips: Optional, for intricate decorations if you choose to go the extra mile.
Frequently Asked Questions
How do I ensure my cake layers are even?
Level your cake after it has cooled by trimming the tops with a serrated knife. This will help them stack neatly.
Can I use gluten-free flour?
Yes, you can substitute the all-purpose flour with a gluten-free blend. Make sure it is a 1:1 ratio substitute for the best results.
How long can the Rainbow Layered Birthday Cake last?
When stored properly, the cake can last up to 5 days in the fridge or 2 months in the freezer.
What if I don't have gel food coloring?
Liquid food coloring can also be used, but be mindful that it may alter the cake's moisture content.
Can I make this cake without eggs?
Absolutely! You can use egg replacements like applesauce, mashed bananas, or a commercial egg replacer that works for baking.
Conclusion
The Rainbow Layered Birthday Cake is not just a feast for the eyes but a delicious treat that everyone will love. The vibrant colors and flavorful layers make this cake a perfect centerpiece for any celebration. Whether it’s a birthday, an anniversary, or just a gathering with friends, this cake is guaranteed to leave a lasting impression. By following the steps outlined in this guide, adding your personal touch, and embracing creativity, you’ll bake a cake that is not only beautiful but memorable. So, gather your ingredients and start creating your own stunning Rainbow Layered Birthday Cake today!