Milk Mochi: An Amazing Ultimate Recipe for 6 Easy Steps
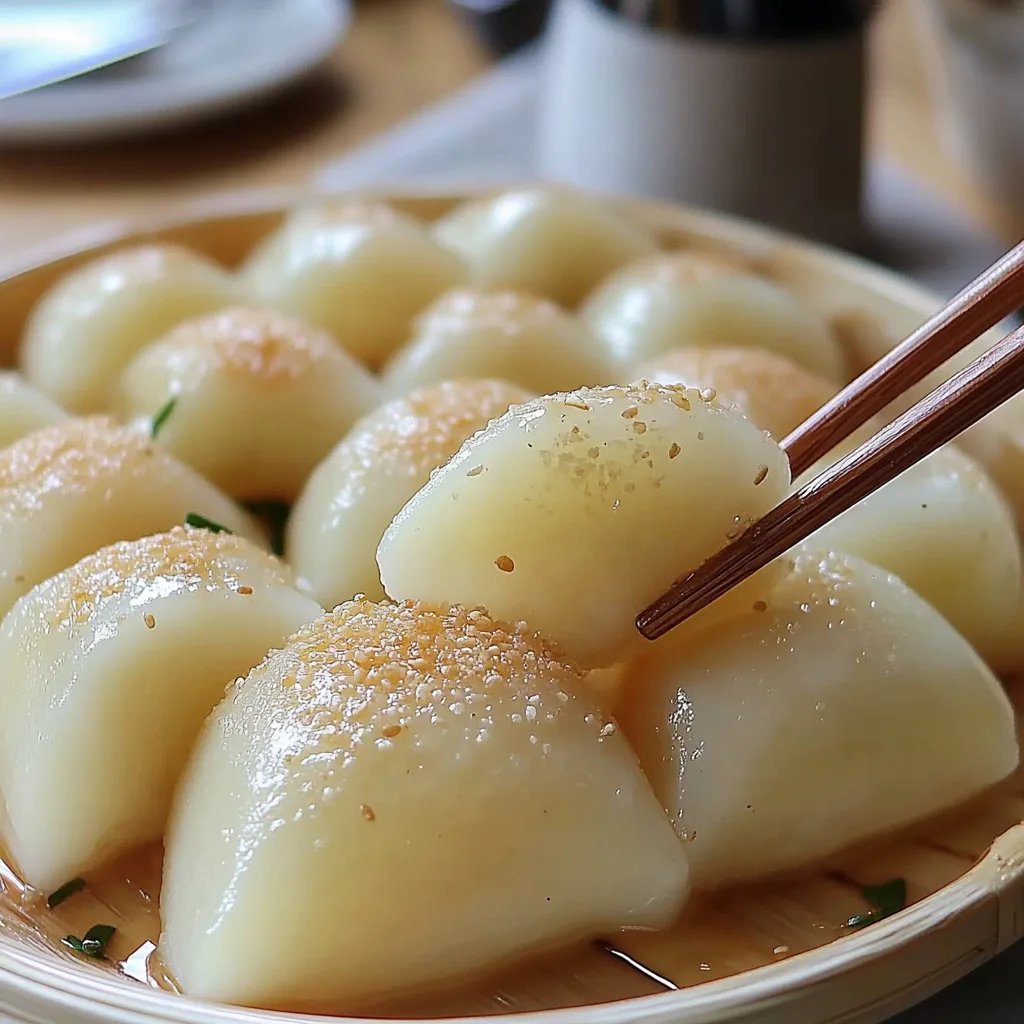
Milk Mochi is a delightful treat that bridges the gap between traditional Japanese dessert and modern flavors. This chewy confection, made primarily from glutinous rice flour, has undergone a delicious transformation with the inclusion of milk. The combination of creamy milk and mochi texture creates a treat that's incredibly satisfying. Whether you’re sharing these with friends, enjoying them at a family gathering, or treating yourself after a long day, Milk Mochi is sure to impress.
With its sweet, milky flavor and soft, chewy consistency, this dessert is perfect for any occasion. You might find yourself reaching for these soft squares over and over again. The process of making Milk Mochi brings a comforting sense of nostalgia, leading you to just the right balance of sweetness. Additionally, this recipe is great for those who are looking to try their hand at something new in the kitchen without overcomplicating matters.
In this guide, we'll dive deep into why you’ll love this recipe, the preparation and cooking time required, a simple list of ingredients, and easy step-by-step instructions to ensure your success. No matter your cooking skill level, making Milk Mochi can become a new favorite activity. Inspiring smiles and happy faces is just one batch away, so let’s get started!
Why You’ll Love This Recipe
There are many reasons why Milk Mochi has become a beloved treat around the world, and here are just a few:
- Simple Ingredients: The ingredients list for Milk Mochi is straightforward, featuring common pantry staples that you might already have.
- Unique Texture: The chewy texture of mochi combined with milk creates a unique mouthfeel that’s satisfying and delicious.
- Versatile: You can customize the flavors with various toppings or fillings, such as fruits, ice cream, or even chocolate.
- Quick to Prepare: This recipe is beginner-friendly and doesn’t require much time or effort.
- Ideal for Sharing: Perfect for parties, family gatherings, or simply to enjoy at home.
- Fun to Make: The process of shaping the mochi can be enjoyable and engaging, making it a fantastic activity for kids and adults alike.
The blend of flavor and texture is just one reason this recipe is an absolute must-try. Each bite of Milk Mochi is like a delightful surprise, offering both comfort and satisfaction.
Preparation and Cooking Time
Creating Milk Mochi is a straightforward endeavor. Here’s a breakdown of the time you will need:
- Preparation Time: 15 minutes
- Cooking Time: 10 minutes
- Cooling Time: 30 minutes
In total, you can expect to spend about 55 minutes making your Milk Mochi from start to finish.
Ingredients
- 1 cup glutinous rice flour
- ½ cup milk
- ½ cup granulated sugar
- 1 tablespoon cornstarch (for dusting)
- 1 teaspoon vanilla extract (optional)
- Food coloring (optional, for aesthetics)
Step-by-Step Instructions
Making Milk Mochi is a delightful journey. Follow these simple steps to create this incredible treat:
- Combine Ingredients: In a mixing bowl, combine the glutinous rice flour and granulated sugar. Stir in the milk and vanilla extract (if using) until it forms a smooth batter.
- Prepare the Steamer: Fill a pot with water and bring it to a gentle boil. Line a heatproof dish or bowl with parchment paper.
- Steam the Mixture: Pour the mochi batter into the prepared dish and cover with a cloth. Place the dish in the steamer and steam for about 10 minutes, or until the mixture becomes translucent and is firm to the touch.
- Cool the Mochi: Carefully remove the dish from the steamer. Allow it to cool for 30 minutes, ensuring it's set firmly.
- Dust and Cut: When cooled, dust a clean surface with cornstarch. Transfer the mochi onto this surface and cut it into small squares using a knife or a pastry cutter.
- Serve: Dust the cut pieces with more cornstarch to prevent sticking, and enjoy!
How to Serve
To elevate your Milk Mochi experience, consider these serving suggestions:
- Presentation Style: Arrange the mochi pieces on a decorative platter, garnished with fresh fruits or edible flowers for an elegant touch.
- Dipping Options: Serve with a side of sweetened condensed milk or chocolate sauce for dipping to enhance the flavor profile.
- Pairing: Complement with a cup of green tea or iced matcha for an authentic Japanese dessert experience.
- Storing Leftovers: If there are any leftovers, store them in an airtight container in the refrigerator. Allow them to come to room temperature before serving.
- Customizable Fillings: For a fun twist, add a small spoonful of sweetened red bean paste or fruit jam in the center of each piece.
- Frosted Variants: Experiment with creative frostings or toppings, such as whipped cream, coconut flakes, or colorful sprinkles for added flair.
Incorporating these serving suggestions will not only provide a delightful experience for you and your guests but will also make your Milk Mochi a standout treat!
In this enchanting journey of flavor and texture, Milk Mochi awaits you, ready to bring joy and satisfaction to your kitchen.
Additional Tips
- Use Quality Ingredients: The flavor of your Milk Mochi greatly depends on the quality of the ingredients. Always opt for good quality glutinous rice flour and fresh milk.
- Experiment with Flavoring: You can enhance the flavor of your Milk Mochi by experimenting with different extract options, such as almond or coconut.
- Be Mindful of Texture: The consistency of your mochi can vary depending on how much you steam it. Ensure that it is just firm enough to hold its shape but still soft and chewy.
- Keep Your Workspace Clean: When working with mochi, the sticky nature can create a mess. Keep your surfaces dusted with cornstarch to manage stickiness and facilitate easy handling.
Recipe Variation
Feel free to explore these variations to customize your Milk Mochi:
- Chocolate Milk Mochi: Add a few tablespoons of cocoa powder to the batter for a rich chocolate flavor.
- Matcha Milk Mochi: Stir in 1-2 tablespoons of matcha powder for a delightful green tea twist.
- Fruit Infusion: Incorporate pureed fruits such as mango or strawberry into the milk for a fruity explosion in your mochi.
- Nutty Delight: Fold in chopped nuts like almonds or walnuts for extra texture and flavor.
- Flavored Fillings: Consider adding fillings like a sweet red bean paste, ice cream, or even fresh fruit within the mochi for an exciting surprise.
Freezing and Storage
- Storage: Keep your Milk Mochi in an airtight container to maintain its softness. They can be stored in the refrigerator for up to a week.
- Freezing: If you want to prepare them in advance, you can freeze individual pieces. Wrap each mochi in plastic wrap and place them in a freezer-safe container. They can last for up to three months. When ready to enjoy, let them thaw at room temperature.
Special Equipment
While making Milk Mochi doesn’t require specialized equipment, having the following tools will assist in the process:
- Mixing Bowl: For combining the ingredients smoothly.
- Steamer: A bamboo steamer or a steaming basket is ideal for cooking your mochi evenly.
- Parchment Paper: To line your steaming dish and prevent sticking.
- Knife or Pastry Cutter: For evenly cutting the mochi into squares.
Frequently Asked Questions
What can I do if my mochi is too sticky?
If your mochi turns out too sticky, dust it with more cornstarch while shaping.
Is it normal for mochi to be slightly chewy?
Yes, a slight chewiness is expected and is part of what makes mochi a unique treat.
Can I use any type of milk?
Yes, different milk varieties will result in slightly different flavors. Almond milk, coconut milk, or oat milk can be delicious alternatives.
Can I make this recipe gluten-free?
Unfortunately, traditional mochi is made with glutinous rice flour, which is not gluten-free. However, you can investigate alternatives like gluten-free sweet rice flour for a variation.
How do I know my mochi is done steaming?
It’s done when it appears translucent and feels firm to the touch. A quick poke should reveal a slight bounce.
Conclusion
Milk Mochi is not just a dessert; it’s a culinary adventure that combines tradition and innovation. The delightful interplay of flavors and textures makes these chewy treats a crowd-pleaser. Whether you enjoy them plain or jazzed up with toppings and fillings, this recipe is foolproof and adaptable. So, gather your ingredients, follow the steps, and treat yourself to a batch of homemade Milk Mochi. Your taste buds will thank you!